The secret of Swissbit product quality: Part II

Part 1 has explained all the tests that Swissbit performs before a product is released for production. Part 2 shows the ongoing measures to maintain the product quality once volume production has started.
2) Outgoing production testing
The purpose of the 100 % outgoing test is to find production issues as early as possible in the process.
Automated Solder paste inspection (SPI): At the early stage of assembly the solder paste is printed on the PCB. The SPI checks even before placement of the component if the solder paste is evenly and sufficiently applied, and if no shorts have been created.
Automated optical inspection (AOI): At the end of the assembly an automated optical inspection tool, equipped with high-resolution cameras, controls the correct positioning of the components, verifies that the right items are assembled and checks for PCB defects, solder spots, shorts, opens, and the solder flow quality.
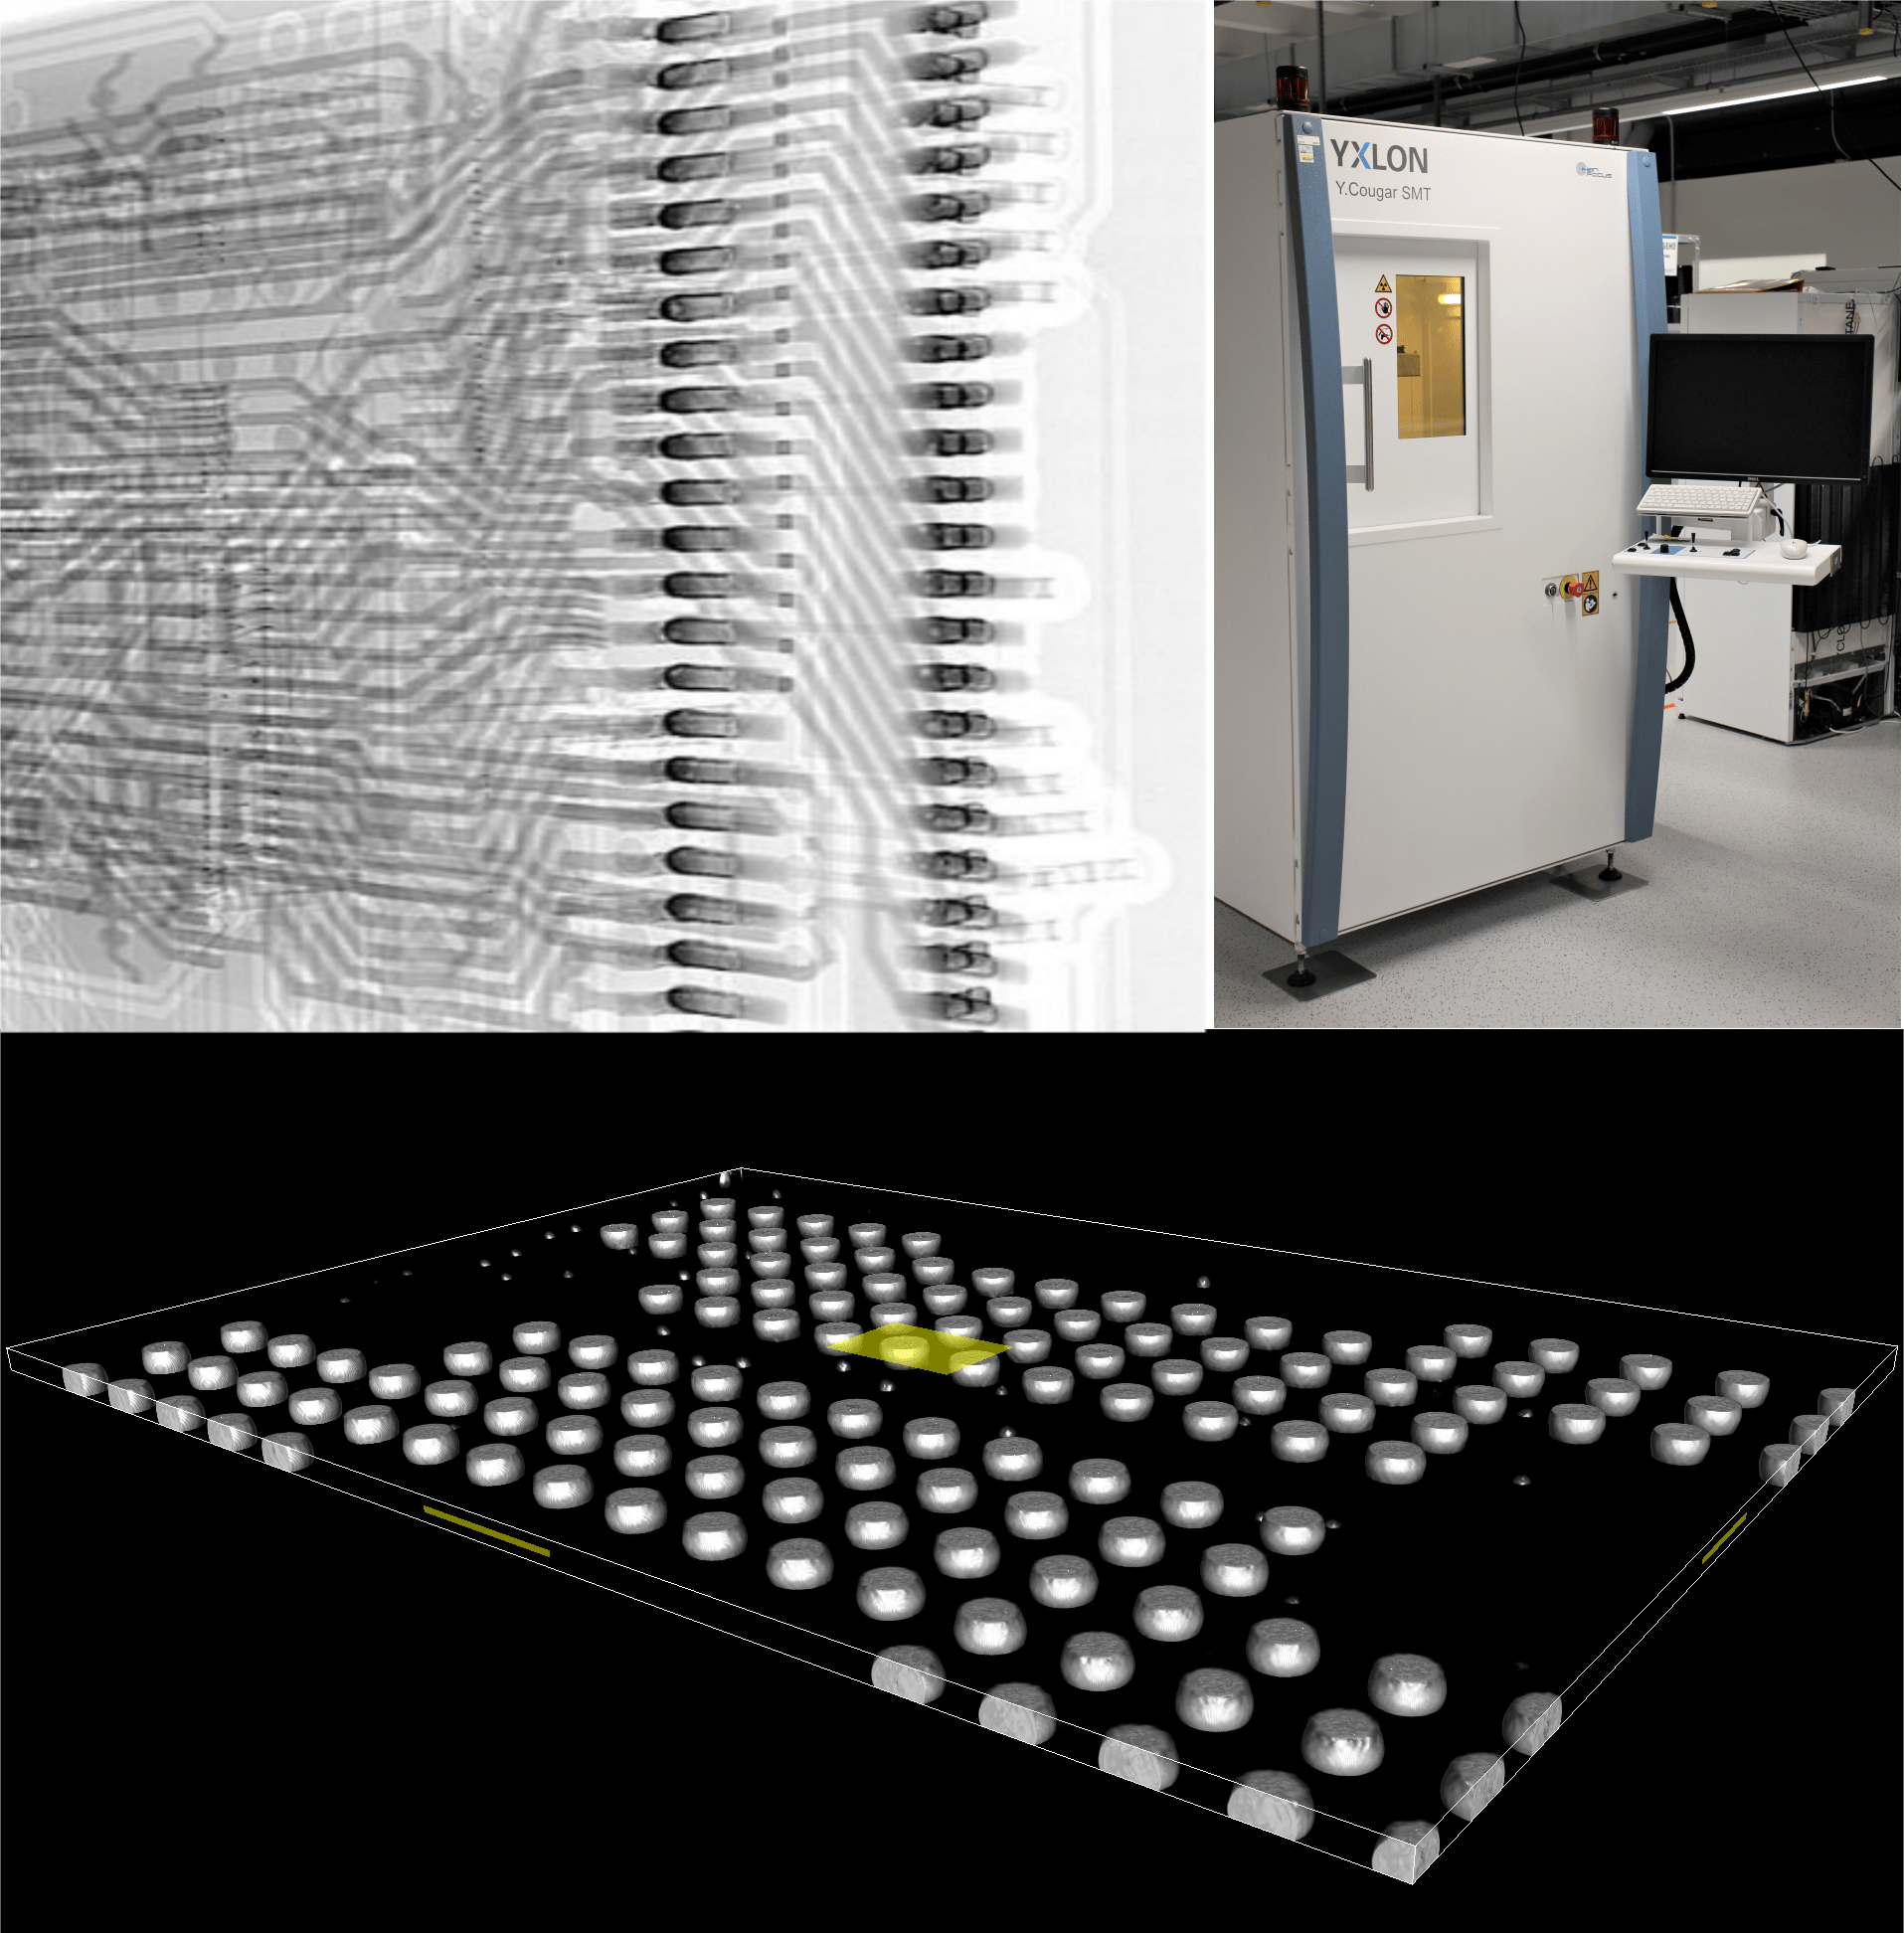
Automated 3D X-Ray inspection (AXI): The X-Ray inspection allows examination of the solder connections below the BGA packages. With 3D X-Ray, it is even possible to see the ball shape after reflow. The inspection checks for open/shorts, the wetting of the solder ball, solder ball size and form.
100 % outgoing functional check: Each Swissbit product is tested for correct operation.
- Proprietary or high-end testers apply real life test sequences and verify the full functionality.
- Products with wide temperature specification are tested both at -40°C and at 85°C with a slow ramp in between.
Manual visual inspection: Well-trained personal is still the key to a detailed inspection of the overall product quality. Swissbit tests automated and manual visual inspection against IPC-610 Class 2.

3) Sample in-depth analysis
Since the solder connection is often hidden below components, a visual inspection is only showing the corner balls of BGA packages, the pins of TSOP packages and the passives. The in-depth analysis goes further to look into the hidden areas of the product.
Nondestructive tests:
X-Ray: The 3D X-Ray allows to inspect the solder connections below the packages.

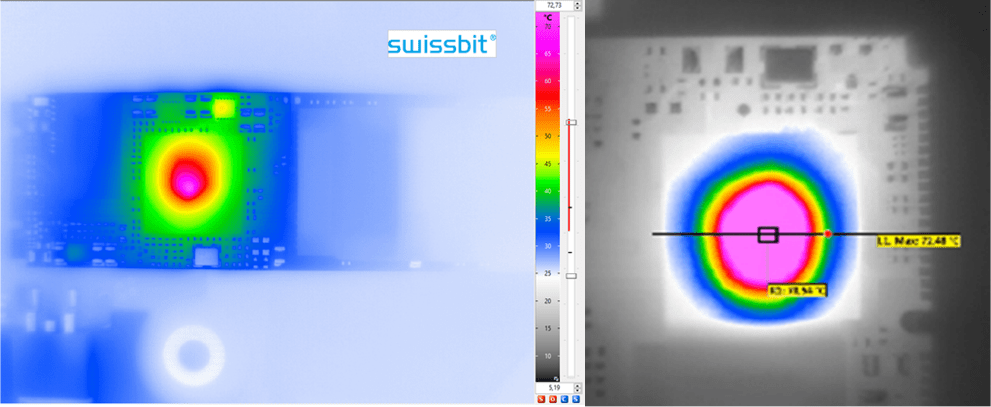
Hot Spot Analysis: Infrared Microscopy, detects electrical Shorts

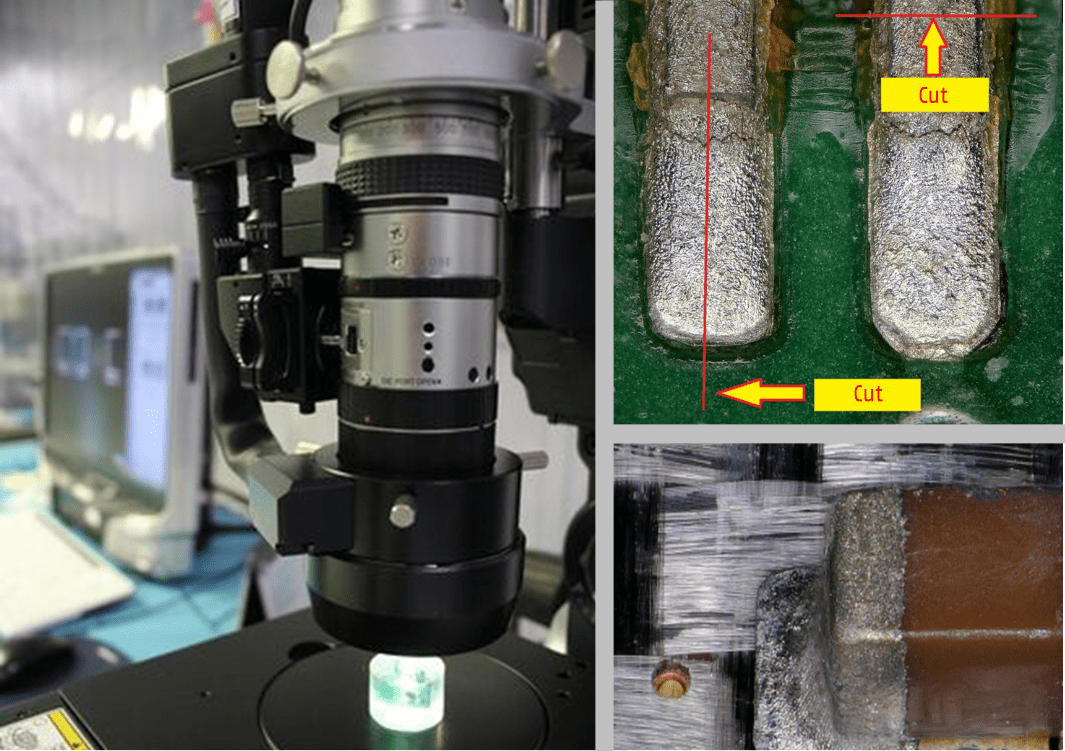
3D Microscopy: up to 5,000 times magnification

Scanning Acoustic Microscopy (C-SAM): The scanning acoustic microscopy is a non-destructive imaging technique that uses very high frequency ultrasound to produce images from inside an object.
Destructive tests:
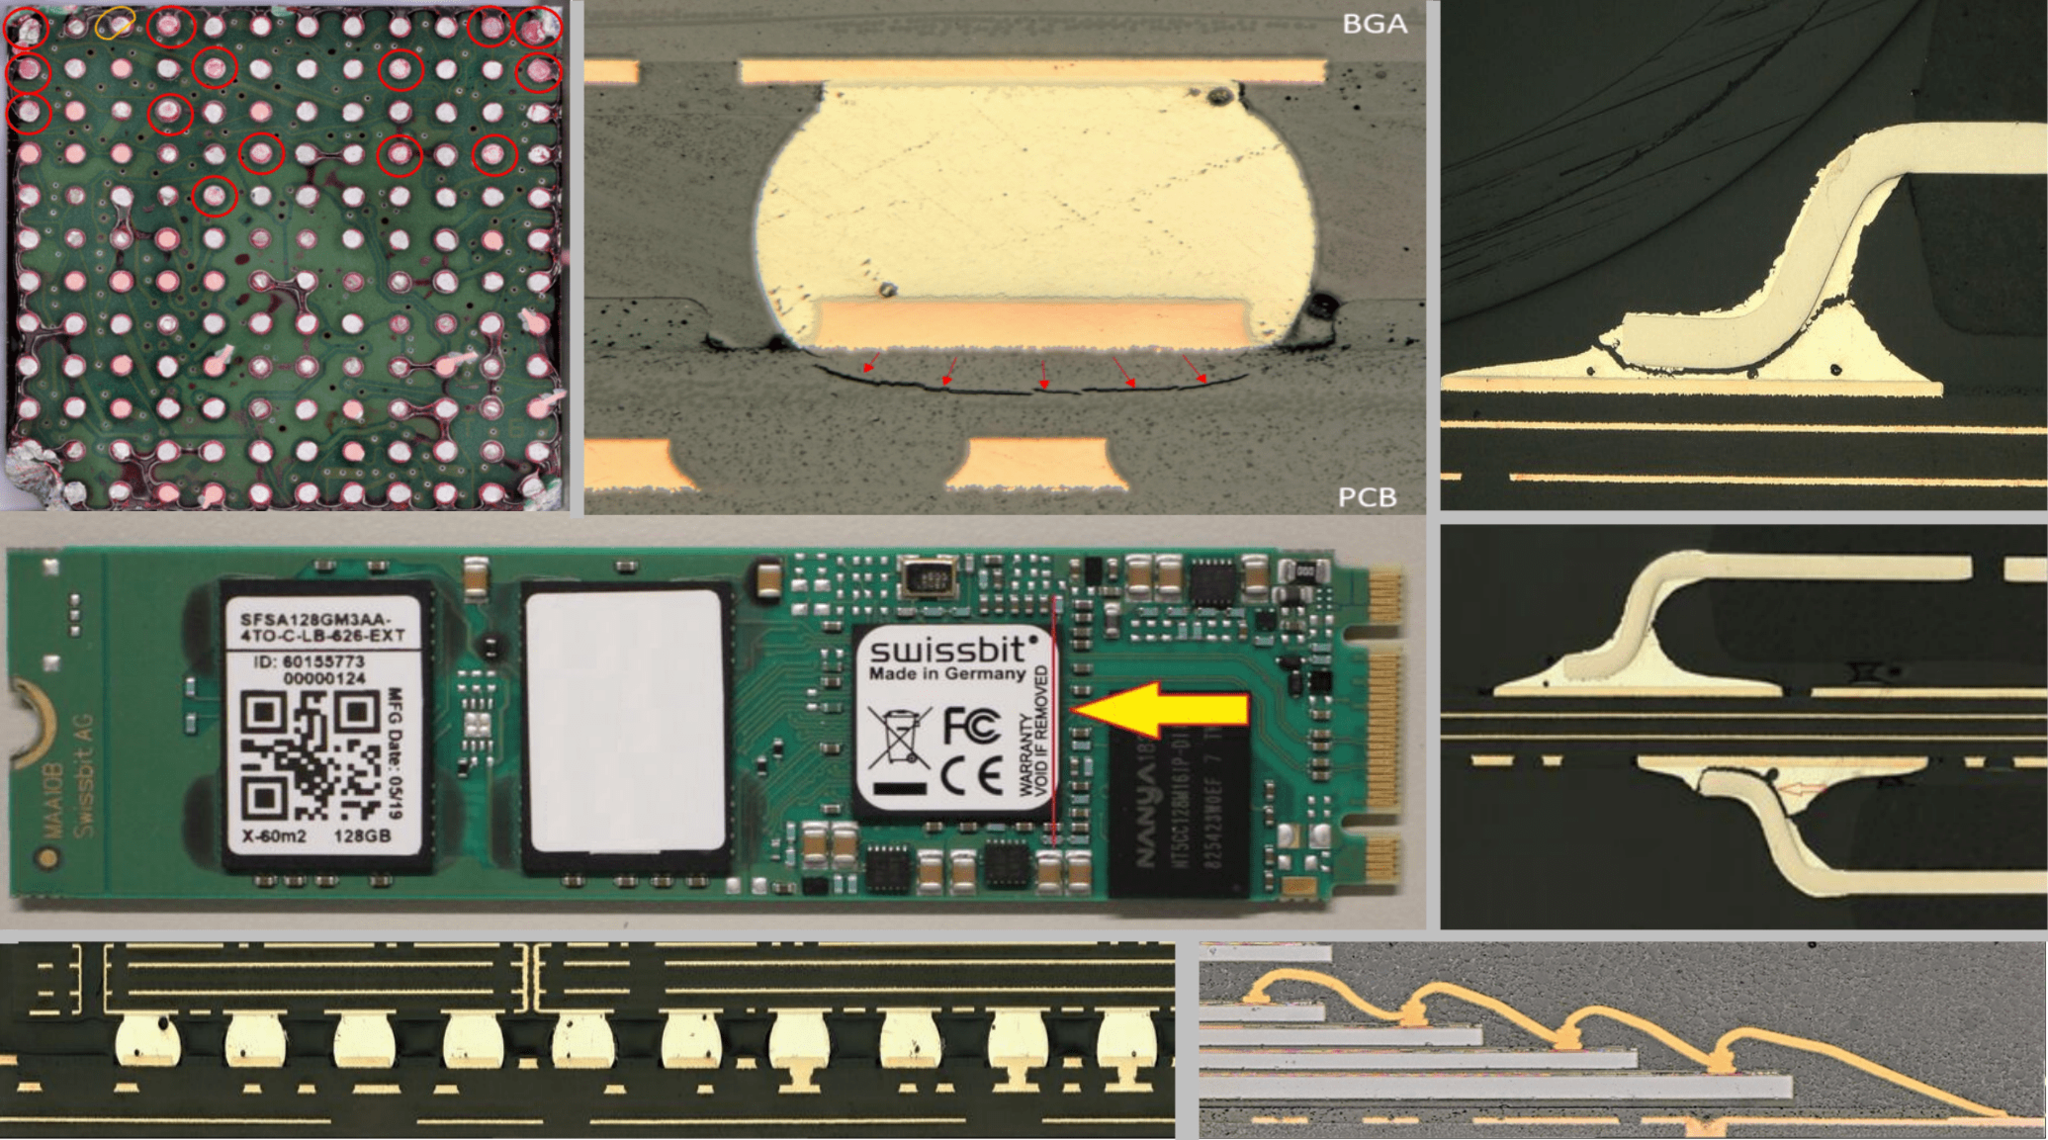
Cross section: By cutting through the PCB, the packages and grinding / polishing the edge the internal layers of the PCB, the vias, the solder connection and ball and internals of the component package can be inspected. This allows checking suspicious areas or failing pins to identify their failure root cause.
Dye & Pry test: In order to check for open or poorly developed solder connections the Dye & Pry test offers a handy tool to check multiple ball connections at one time.
The BGA in question is flooded with a low viscosity red ink. The ink penetrates all cracks and voids between the package and the PCB. After having dried and cured the ink, the BGA package is pulled off the PCB and the PCB inspected. Red ink on a pad indicates a bad solder connection where ink could get in between the PCB pad and the package ball.
Scanning electron microscope: The SEM allows inspection for contamination, cracks, and hot spots at chip level.

Summary
With the extensive qualification tests, the outgoing production test and the in-depth sample analysis Swissbit is able to provide a stable, exceptionally high product quality both for small and high volume production.
Convince yourself of our expertise.
Receive the latest news and announcements about storage and security solutions as well as current events and new products.
